
Coming at you from almost 5 weeks in quarantine and day 17 of official statewide lock down/ stay at home orders! I hope everyone is hanging in there and finding creative things to do both in the kitchen and to keep yourself entertained. I’ve been talking about sharing this “recipe” for months, and it is finally time now that we are all looking for something interesting to do! Growing your own sprouts is super easy and fun to be able to grow your own food in about a week. Sprouts are also an extremely nutrient dense food – which we can all use more of right now that we may not be eating quite as much fresh food as we usually would.
Broccoli sprouts in particular have very concentrated levels of a plant compound called sulforaphane which helps protect against cancer, benefits the heart, fires up the brain, supports natural detoxification and is rich in antioxidants. (Source) You can also check out the information Dr. Axe has compiled about broccoli sprouts here.
You probably have some of the things that you need to grow sprouts already on hand and hopefully if you don’t you should be able to find them at a local grocery store or on Amazon. Another reason it’s great to grow them at home: it’s way cheaper!!
How to grow Broccoli Sprouts
Supplies needed:
- 32 OZ mason jar – wide or small mouth (doesn’t matter because you’ll just buy the lid that matches your size!) You can also find smaller packs of these at Target, Walmart, and King Soopers.
- Sprouting lids
- Broccoli seeds
- Mixed variety seeds – Broccoli, Alfalfa, Radish and Clover Sprouting Seeds (this is the one I use!)
- Jar Stand (optional. I just put my jar upside down in a bowl)
Instructions:
- Measure out two tablespoons of seeds into your mason jar. Cover with a few inches of water. Cover with the sprouting lid and place in a cold, dark place for about 12 hours or overnight. I place mine inside of the glass cabinet because I will see it there in the morning when I go to get my coffee mug.
- Rinse the seeds off a few times and drain all the water. Stand the jar upside down inside of a bowl to catch any dripping water. You can also use the stand and place it on top of a towel.
- Place the jar out of direct sunlight on the counter somewhere you will see it throughout the day (it needs to be open to the air so don’t put it inside a cabinet any more).
- Rinse the seeds off 2-3 times a day and continue to let the jar hangout upside down.
- After a day you should start to see some little sprouts beginning to grow.
- After 2-3 days you can place the sprouts closer to a window for them to get green. They do not need to be in direct sunlight though.
- The sprouts are done when they can no longer fill the jar – this usually takes about a week.
- When they are done sprouting, pull them out and place into a shallow bowl to rinse them off. By rinsing and swishing them around in the water you can get the seed shells off. You will need to rinse a few times. This step is optional, since you can eat the shells if you want. I prefer to rinse them.
- Lay them out to dry flat on a paper towel or kitchen towel. Allow them to air dry before storing. To store: place them in a container with a paper towel to control any excess moisture.
- Sprouts are good in the fridge for up to two weeks. But, if they start to smell off or get gooey, best to throw them out!
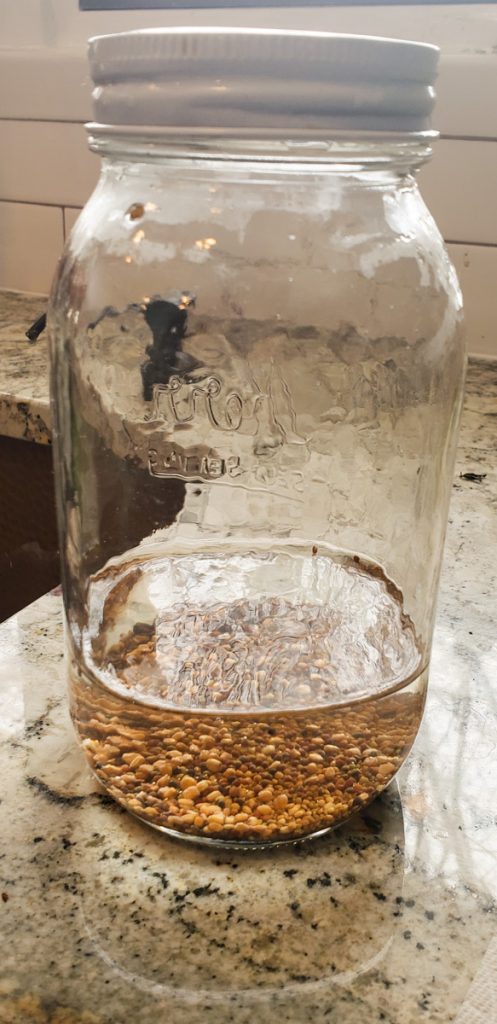
Step 1: Add two tablespoons of seeds and cover with water. Place in cabinet overnight. 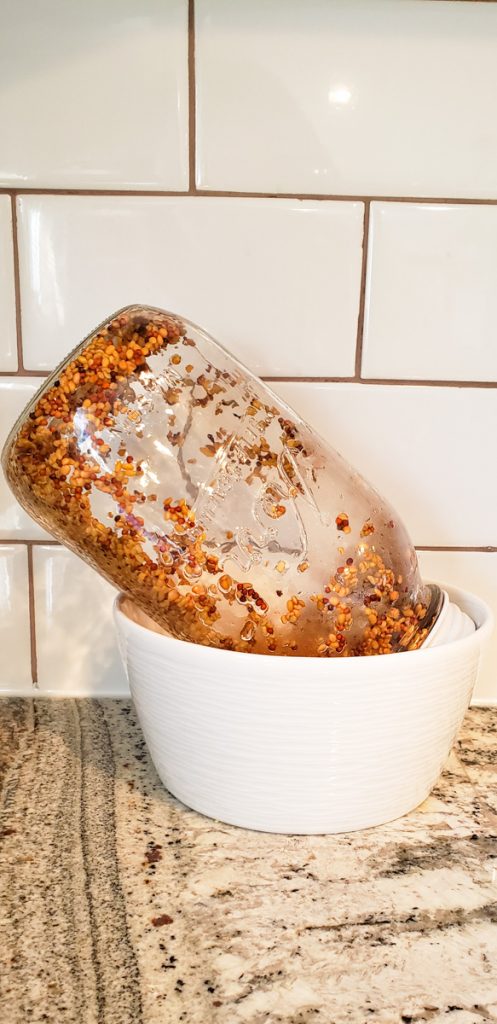
How they look when they are about to sprout 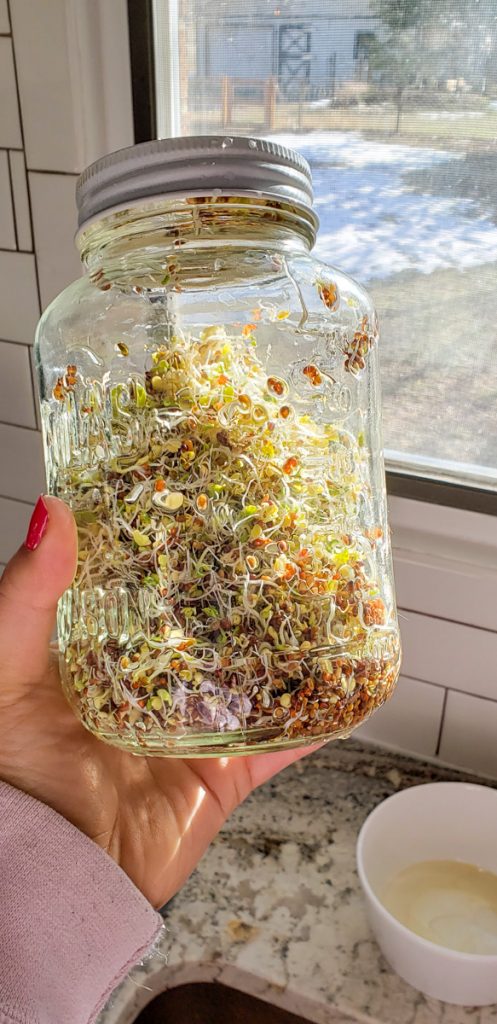
About halfway there 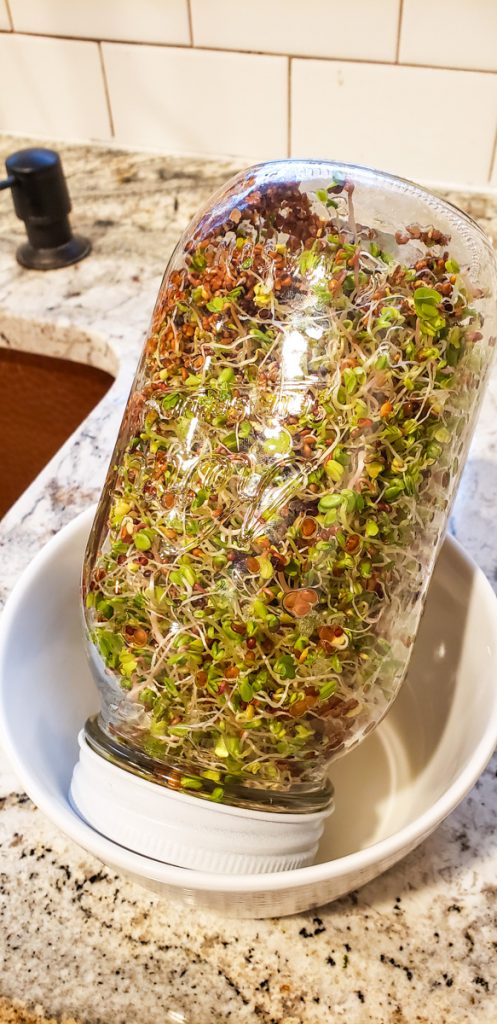
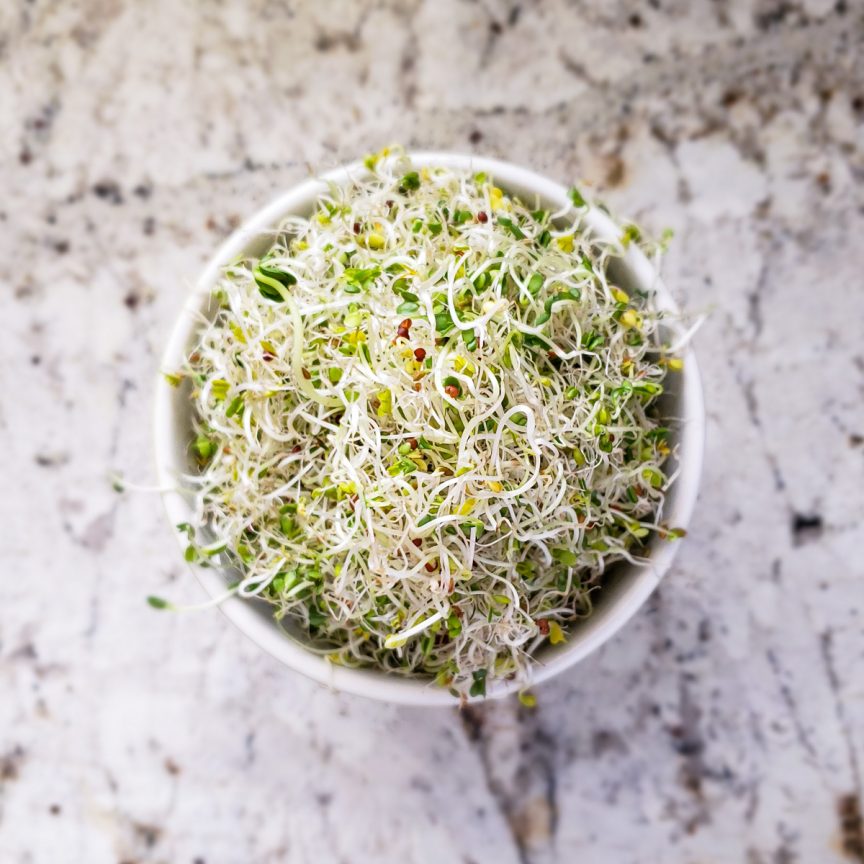
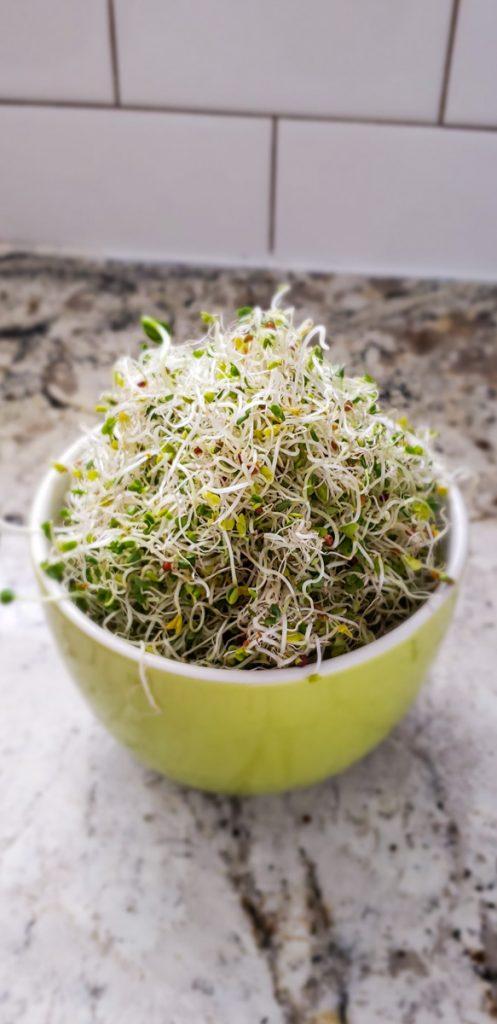
Once they fill the jar, you are done! 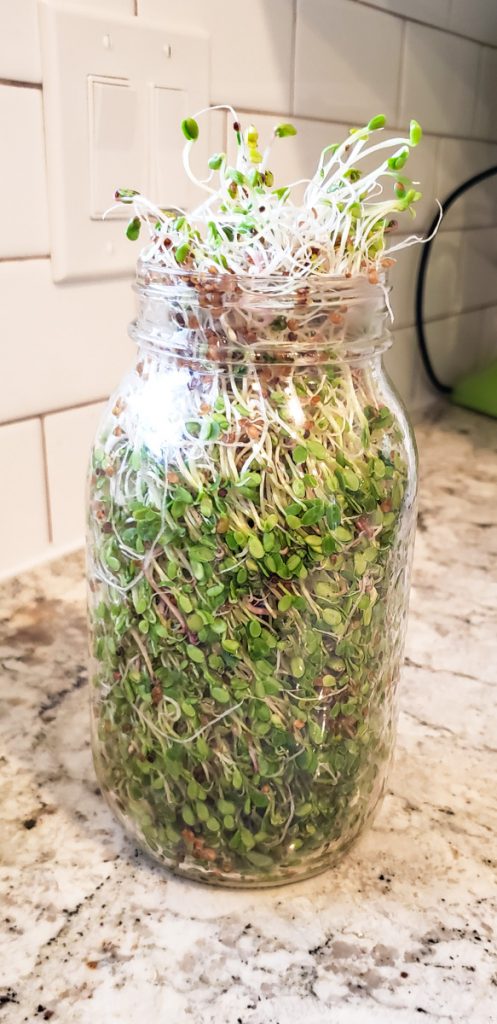
Pull the sprouts out carefully. 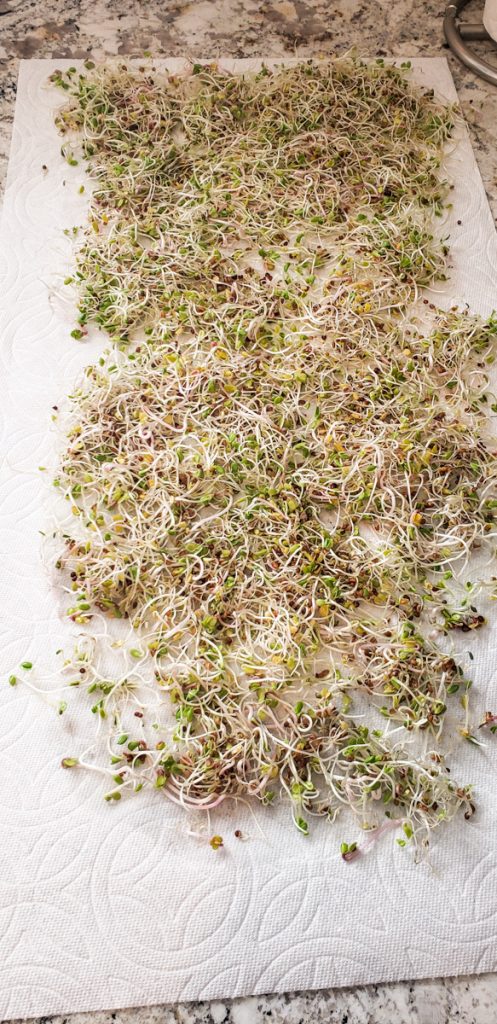
Dry flat on paper towel before placing in the fridge.
There you have it! In about a week you have a tasty home grown power house addition to your meals! The sprouts are best eaten cold, and not heated, but you can add them to soups too right before eating. I love to eat sprouts on sandwiches, eggs, burgers, potatoes, etc. They are great on most things!
I hope you enjoy and continue to stay safe and healthy during this quarantine! If you make these, tag me on Instagram @freshorbust!